Send Products Automation
To create this automation, go to the All Automation page and click the New Automation button. Inside this section, you will find 51 ready-to-use automation templates. Select the category that matches your use case. For example, if you want the automation to trigger when someone sends you a DM, choose the DM category. If the automation should trigger when someone comments on a post, select the Post Comment category. Similarly, you can choose Reel Comment, Story Reply, or Live Stream depending on how you want users to interact with your content.
After selecting the category, choose the Send Products template. This will open the ready-to-use Send Products Automation template, where you can configure the required settings and activate the automation.
To open this page, navigate to:
Navigation: Dashboard → All Automations → New Automation → Send ProductsWhat You Can Do on This Page
The Send Products Automation feature allows you to automatically send a final Direct Message (DM) to users that includes product cards in a slider format. Instead of sending links, FAQs, or quick reply buttons, the user receives a set of products they can browse - ideal for catalogs, offers, or featured items.
To add products to this automation, use the link to Manage Products — the same All Products catalog. There you can select up to 10 products. Selected products are sent in a slider format within the final DM. Each product item includes an image, title, subtitle, and three buttons (for example web links and postback payloads) so users can learn more, start an action, or trigger a follow-up message.
The slider image for each card is the image you set on that product in All Products— chosen from your Media Library when you create or edit the product. There is no separate image upload inside the Send Products automation; update the product if you need a different picture in the DM.
Like other automations in the dashboard, the Send Products Automation is organized into multiple categories: DM, Post Comment, Reel Comment, Story Reply, and Live Streams. When the automation runs, the user receives a final DM with the product slider, making it easy to showcase your offerings directly in the conversation.

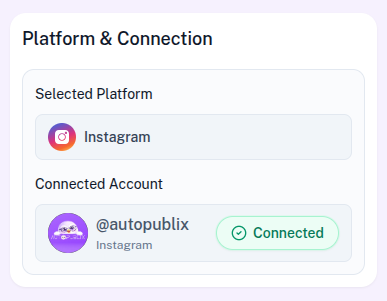
Platform & Connections
In this section, the selected platform will already be configured based on the template you chose. The automation can run on either Instagram or Facebook.
If the platform connection shows as disconnected, you can reconnect your account by going to the Settings page.
Below that, you will see the Connected Account setting. Here, you need to select the account where the automation should run.
For Instagram, only one account can be connected at a time, so it will appear automatically.
For Facebook, if you manage multiple pages, you must select the specific page where the automation should be applied. One page may already appear as the default page, based on the settings configured in the Connection Platform tab.
Automation Title
The Automation Title helps you organize and manage automations within the AutopubliX dashboard.
You can assign a descriptive title that clearly explains the purpose of the automation. For example, the title can describe the products being shared, such as product catalog, featured offers, or new arrivals. Using clear titles makes it easier to identify and manage multiple automations later.
When Someone (Trigger Settings)
This section defines how the automation is triggered when users interact with your account. The system provides multiple trigger options so the automation can respond to different types of engagement.
1. DMs You
This trigger activates the automation when a user sends you a Direct Message containing specific keywords defined in the And it includes section.
If the automation template was created under the DM category, this option will be enabled by default and cannot be disabled, because the automation depends on DM interactions to function.
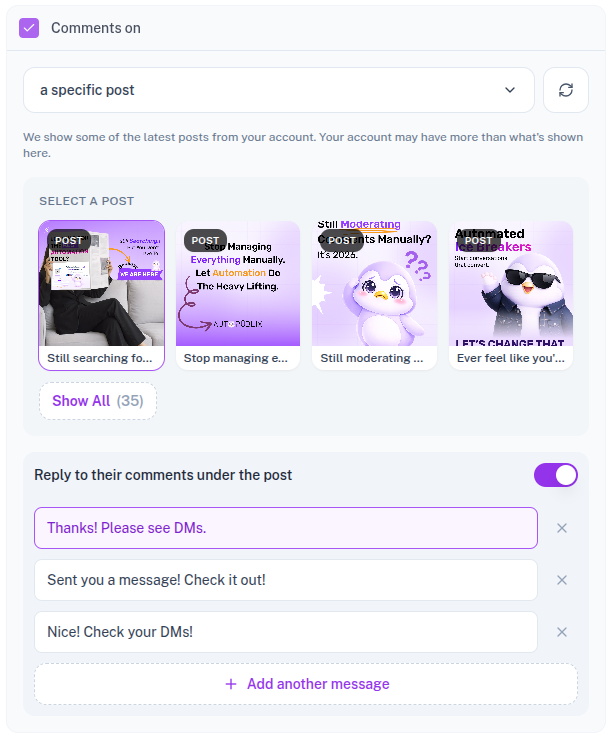
2. Comments On
This trigger runs when a user comments on a post or reel, and the comment matches the keyword conditions defined in the And it includes section.
You can choose how the automation should detect comments using the following options:
A Specific Post/Reel
This option allows you to select a particular post or reel from your account. When users comment on that specific content and their comment matches the defined keyword conditions, the automation will trigger.
By default, the latest post is automatically selected, but you can change this selection at any time.
You can also use the refresh icon to load recently published content. If you want to select older posts or reels, click Show All to open a popup window where additional content is displayed for selection.
If the automation template belongs to the Post category, only posts will appear in the list. If it belongs to the Reels category, only reels will be shown.
Any Post/Reel
This option triggers the automation when users comment on any post or reel on your account, as long as the comment includes the defined keywords.
Select Scheduled Post/Reel
This option is available for posts, reels, or stories that are scheduled through AutopubliX.
For example, if you scheduled a post using the Publish Options section, you can attach this automation to that scheduled content. Once the post is published, the automation will automatically become active and start responding to comments that match the trigger keywords.
Reply to Their Comments Under the Post
When the automation is triggered by a comment, the system can automatically reply to the user's comment directly under the post.
By default, 3 reply messages are already added. You can keep these replies, edit them, remove them, or add additional responses by clicking Add Another Message. The system can rotate these replies to keep responses more natural and varied.
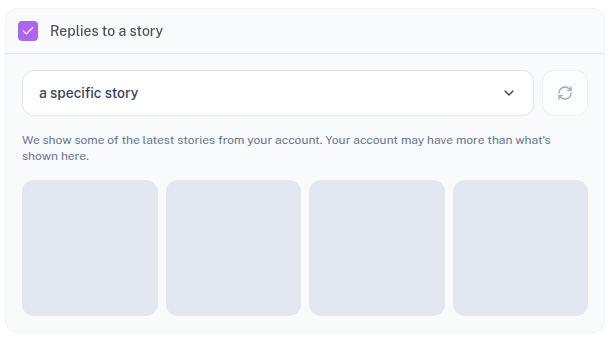
3. Replies to a Story
This trigger activates the automation when a user replies to your Instagram or Facebook story.
You can configure how the system selects the story that should trigger the automation.
A Specific Story
This option shows the stories currently available on your account. When a user replies to the selected story and the reply matches the defined keywords, the automation will trigger.
By default, the latest story is selected automatically, but you can change it. You can also refresh the list to load newly published stories or click Show All to view additional stories.
Any Story
This option triggers the automation when a user replies to any story that meets the keyword conditions.
Select Scheduled Story
If you schedule stories through AutopubliX, you can attach automation to them before they are published. When the scheduled story goes live, the automation will automatically activate and trigger based on the defined conditions.
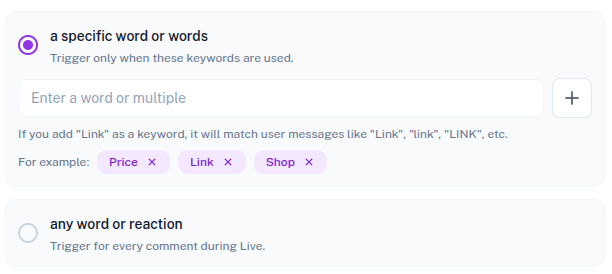
And It Includes
This section defines the keywords or conditions that activate the automation.
You can choose between two options.
A Specific Word or Words
The automation triggers only when a user's message, comment, or reply includes specific keywords that you define.
Any Word or Reaction
The automation triggers regardless of the message content. Any interaction that matches the trigger type will activate the automation.
They Will Get (Pre-DM Flow)
This section allows you to configure additional steps that occur before the final DM is delivered.
If all options in this section remain disabled, the user will directly receive the final DM defined in the And Then, They Will Get section.
Several optional steps can be enabled to create a more advanced interaction flow.
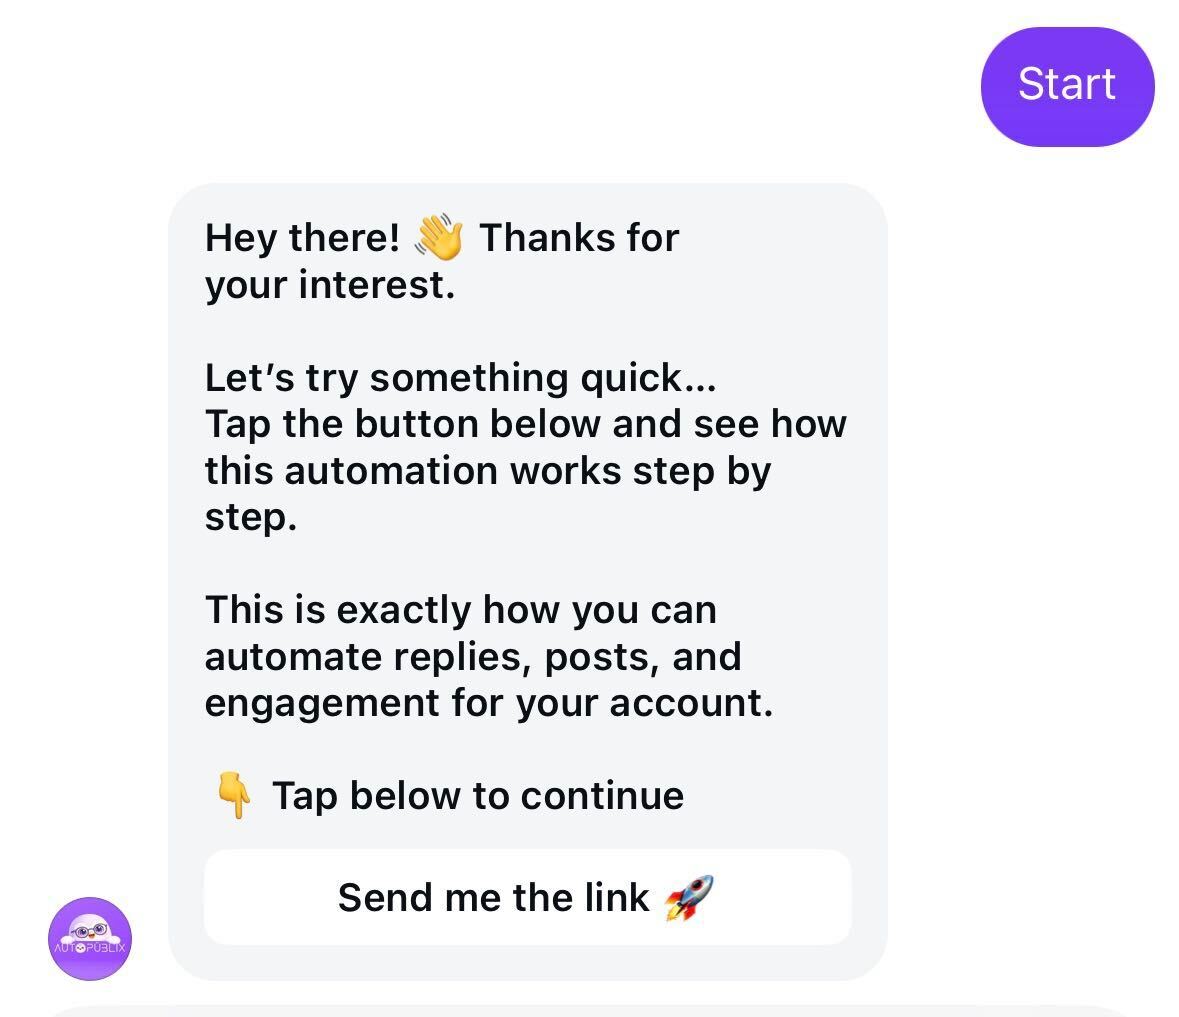
An Opening DM
This message is sent before the final DM. It can include a button, such as “Show me products” or “Browse catalog.”
When the user clicks the button, the automation automatically sends the final DM with the product slider. The button text can be customized according to your message flow. A preview panel is available to show how the message will appear to the user.
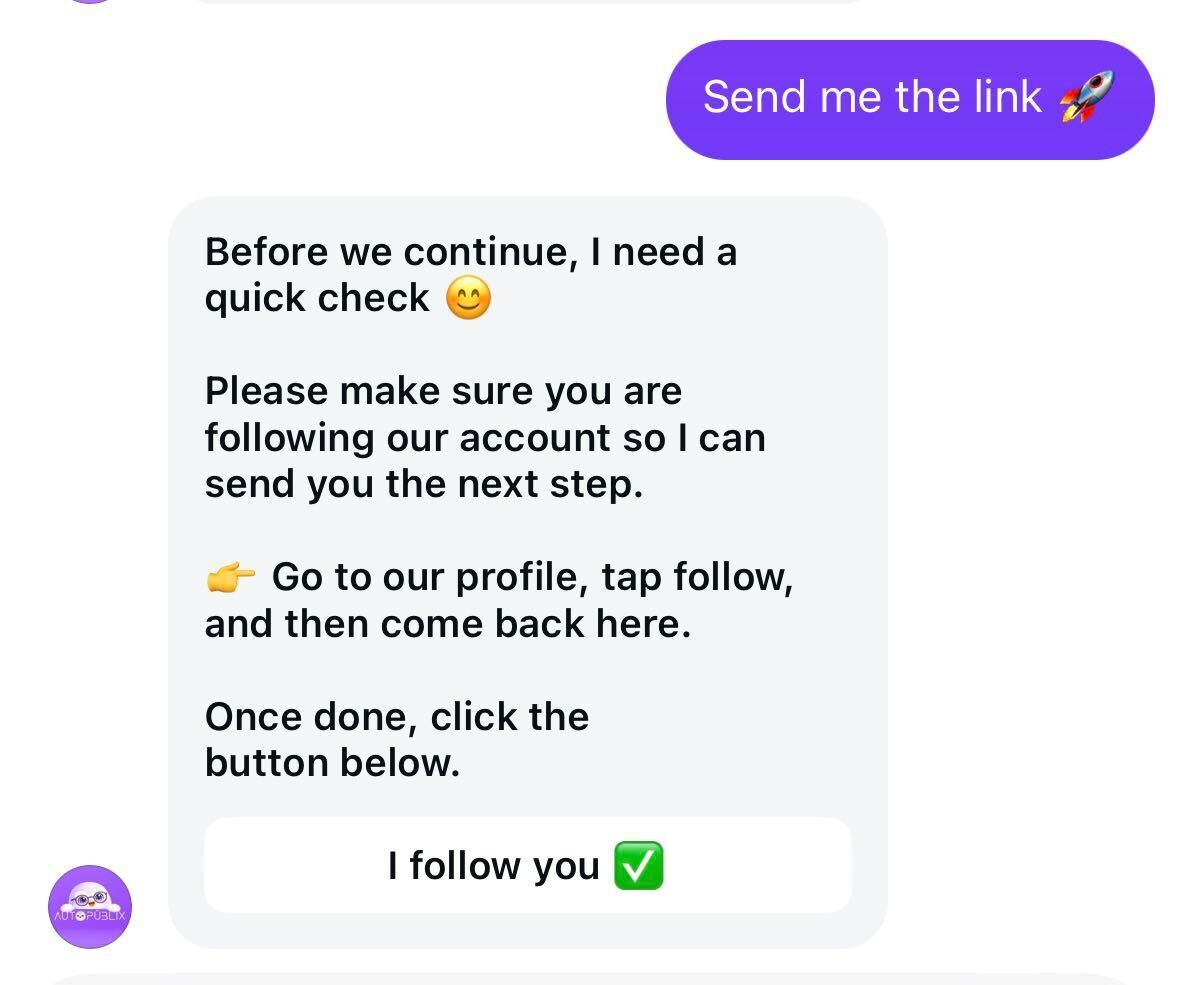
DM Asking to Follow You
When this option is enabled, the system first checks whether the user follows your account.
If the user is not following you, they will receive a message asking them to follow your account along with a button such as “I followed you.”
Once the user follows the account and clicks the button, the final DM is sent automatically.
If the user clicks the button without actually following the account, the system will verify the follow status again and resend the same message.
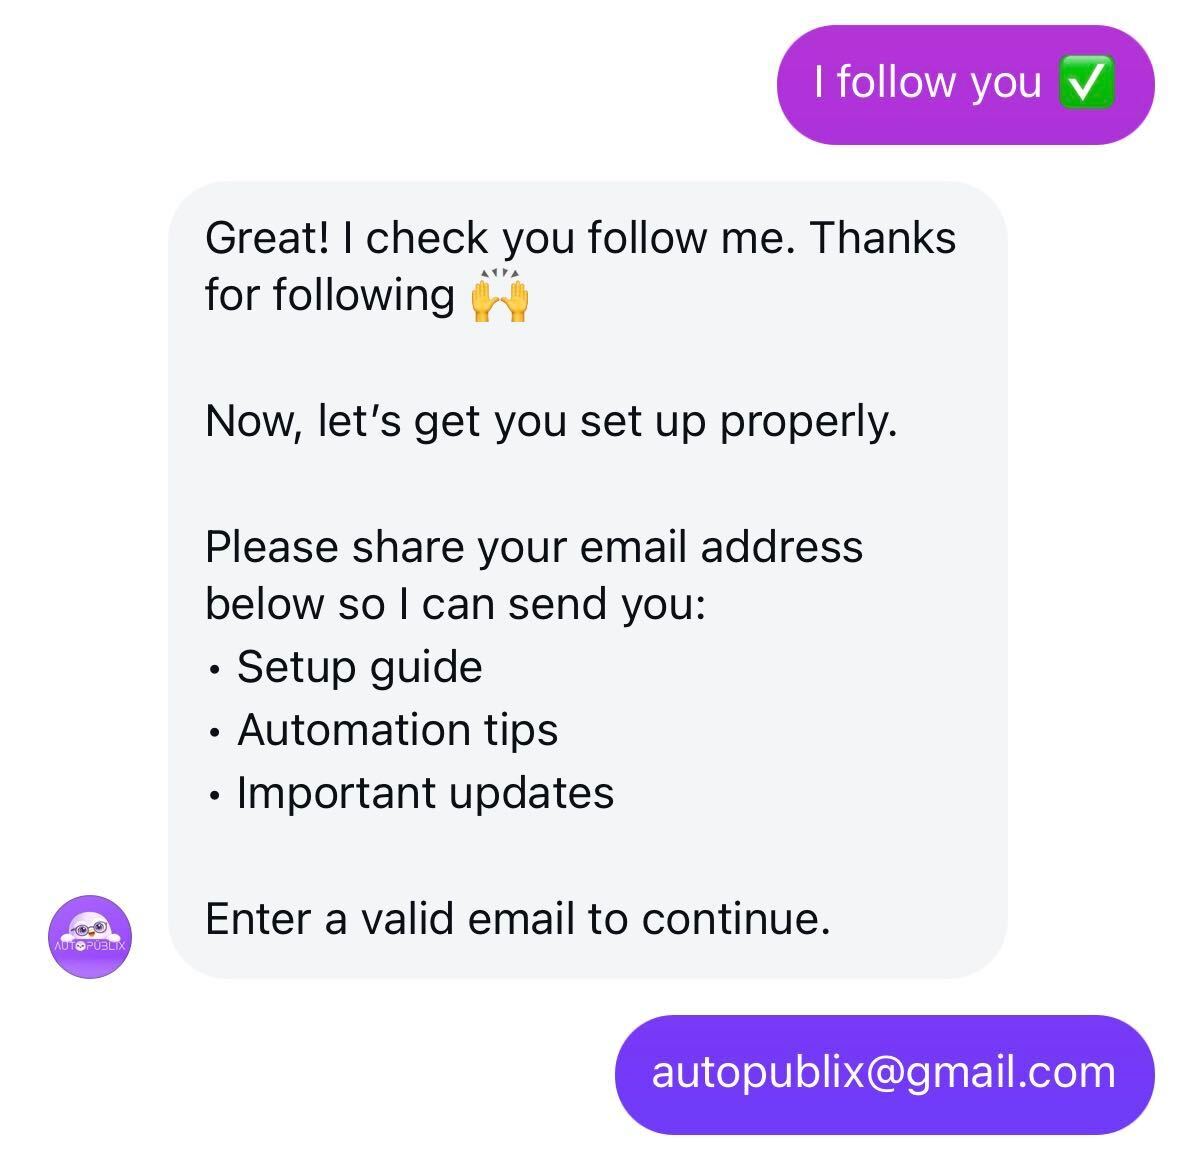
Ask for Emails
This option allows you to collect the user’s email address before sending the final DM.
After the user submits a valid email address, the automation continues and sends the final DM containing the product slider.
All collected email addresses can be downloaded from the Download Email List option inside the automation. The data will be provided in a TXT file format.
You can also view all contacts collected from multiple automations by visiting the All Contacts section.
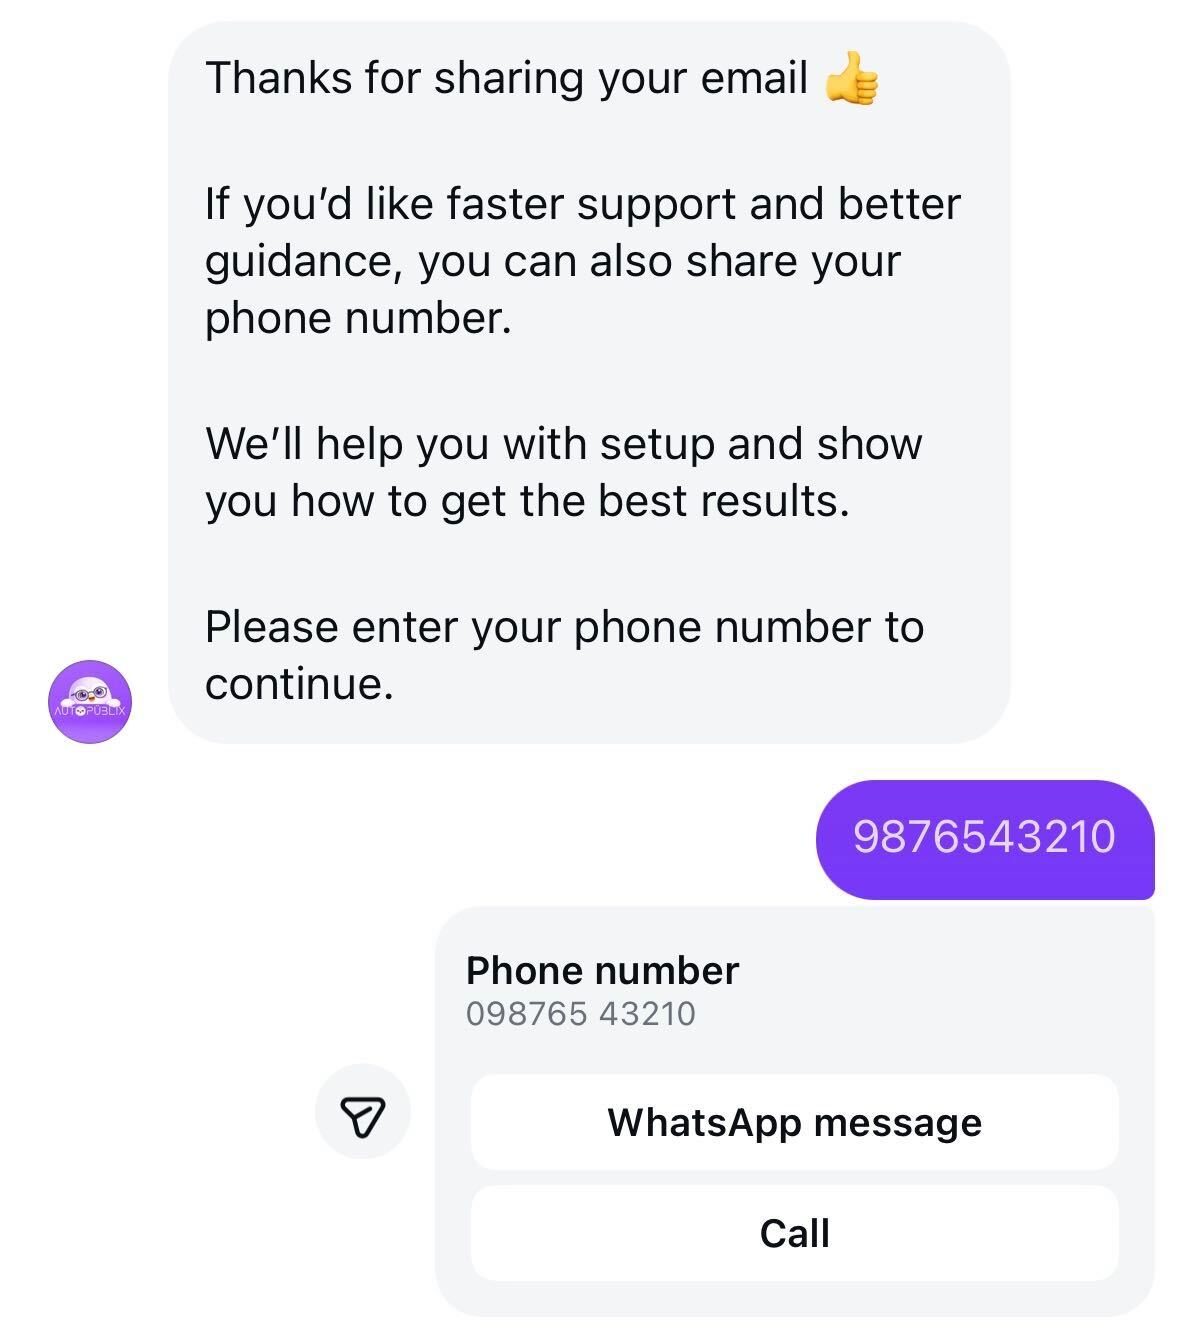
Ask for phone number
This option allows you to collect the user’s phone number before sending the final DM.
After the user submits a valid phone number, the automation continues and sends the final DM containing the product slider.
All collected phone numbers can be downloaded from the Download Phone List option inside the automation. The data will be provided in a TXT file format.
You can also view all phone numbers collected from multiple automations by visiting the All Contacts section.
And Then, They Will Get (Final DM)
This section defines the final message that the user receives.
Before sending this message, the system verifies that all enabled steps in the Pre-DM Flow have been completed successfully. Once those steps are finished, the automation sends the final DM.
For this automation, the final DM does not send links, FAQs, or quick reply buttons. Instead, the user must select products. To add products, use the link that redirects you to the Manage Products page. There you can select up to 10 products, which are sent in a slider format in the message. Each product item in the slider includes an image, title, subtitle, and three buttons - web link and payload buttons - so users can open a URL or trigger a follow-up message from the product card.
Automation Action
This section controls the status of the automation and determines whether it is active or inactive.
- Draft : The automation is saved but remains inactive. It will not trigger until activated.
- Save and Deactivate : The automation is saved but not available for users yet.
- Save and Active : The automation becomes live immediately. When users send a DM or comment that matches the defined trigger conditions, the automation will run.
- Scheduled : This option appears when the automation is connected to a scheduled post, reel, or story. The automation will automatically become active once the scheduled content is published.